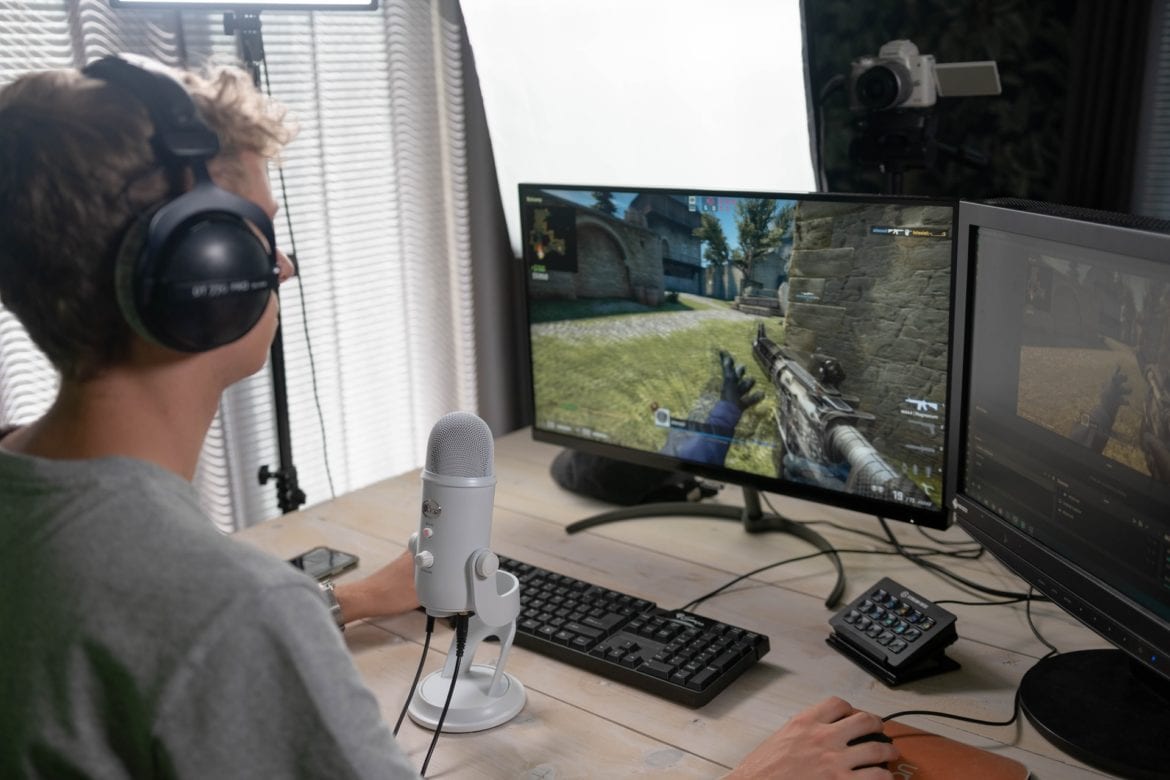
CS GO crosshairs include the main mechanics of every shooting game, where the middle of the screen offers a sight for the crosshair that we use to aim and fire. But, when it comes to competitive shooters like Counter-Strike Global Offensive, the crosshair is one of the main aspects of landing a perfect headshot in a clutch to win in a 1v1 situation.
Suppose you have been following your favorite cyber sportsmen. In that case, they give a lot of emphasis on prefire( anticipating/predicting where a player will come in the line of fire sight), peak and fire(firing from a wall cover and take cover), and a custom best crosshair for CS GO playing style.
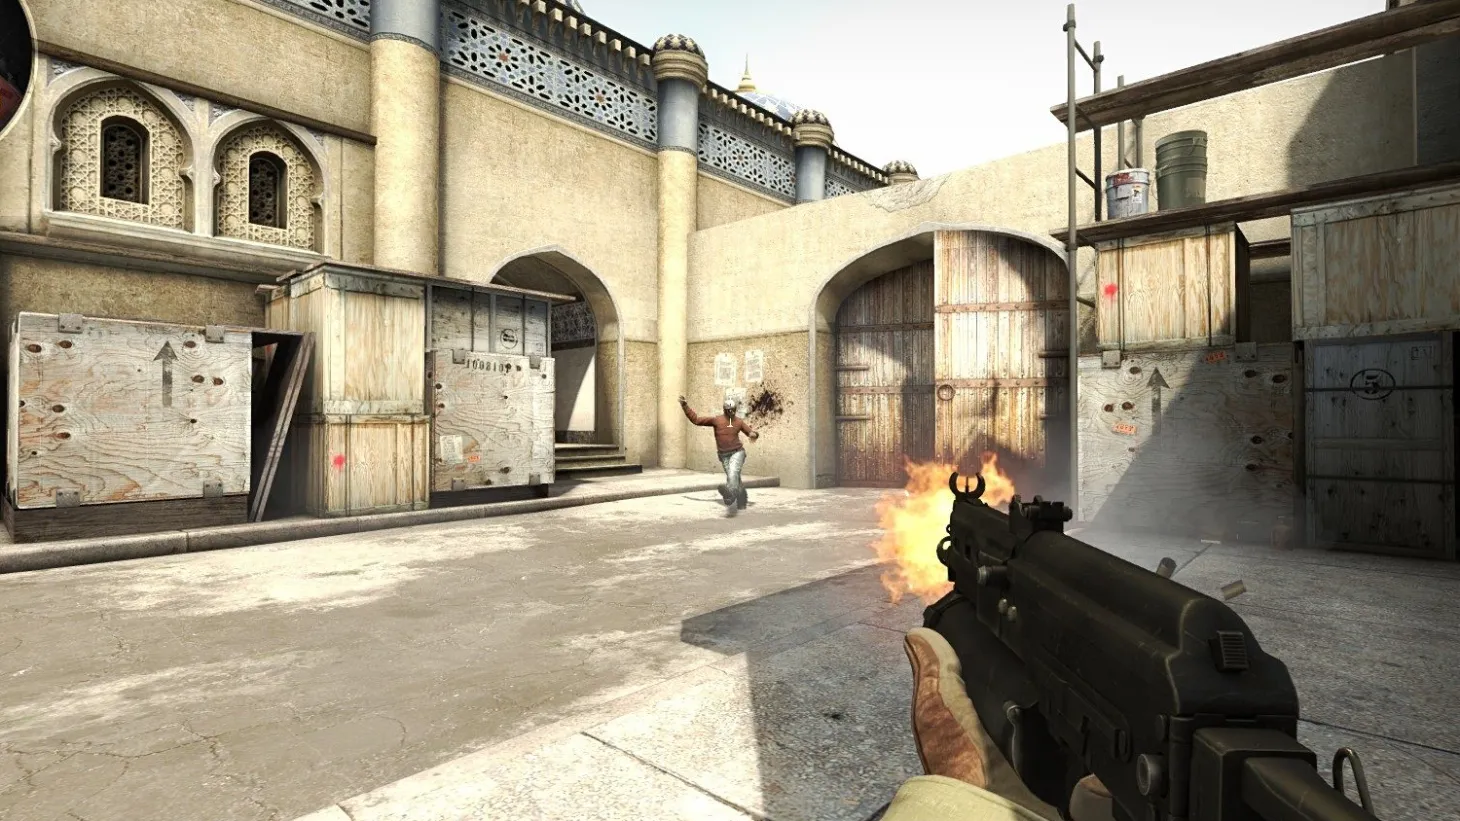
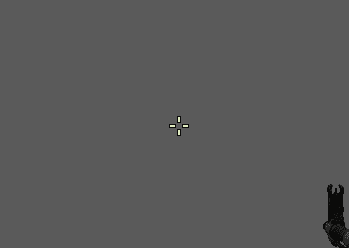
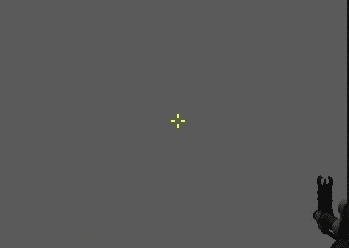
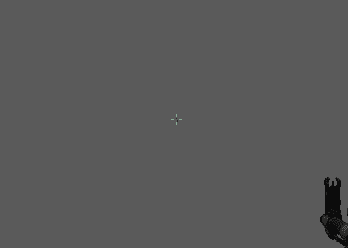
The default crosshair might not be a good representation of where the shots are being landed due to the sizeable expanding reticle while in a shooting spray while walking and when you need to land a headshot.
Unfortunately, there is no one crosshair fits for all for a perfect crosshair for beginners because the playing style may wary from player to player. You will need to experiment and create your own custom crosshair for your playing style, or you can use and try out crosshairs from your preferred game streamer or eSports athletes for trial and error for your gameplay.
Beginners may be confused about where to start on customizing your own best crosshair for CS GO. Here is the complete list of crosshair parameters you can change and their functions for the perfect reticle.
Customize CSGO Crosshair from the Settings
The developers of CS: GO has given an extensive option on customizing a crosshair from the Settings menu in the game itself.
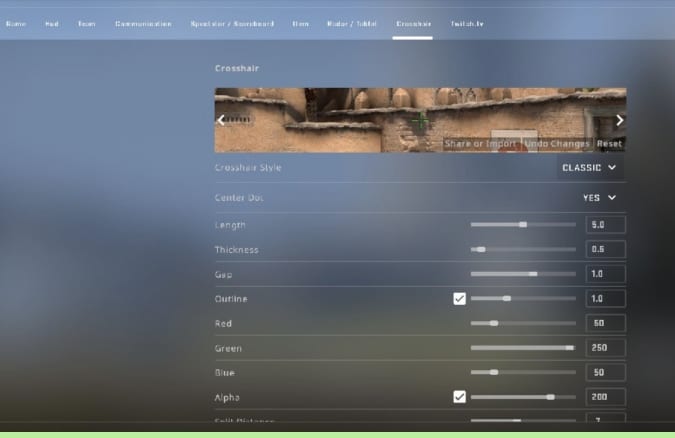
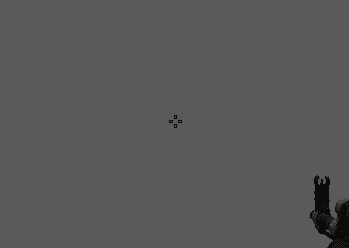
- Crosshair Style -You can choose one of the five different default crosshairs presets with predefined options by developers.
- Center Dot – Center dot is the small dot in the center of the sight reticle, which helps someone to aim better for headshots.
- Length -Lenght is the indicator of the length of your crosshair, from 0.1 (small) to 10 (big).
- Thickness -Thickness is the index of how wide (thick) the crosshair will be. The parameter ranges from 0.1 (thin) to 6 (thick).
- Gap – With the Gap parameter, you can choose how close the sightlines will be to the center. The Gap parameter ranges from -5 (very close) and 5 (far away).
- Outline -Outline Parametre helps you change the border of the crosshair. The Outline Parameter ranges from 0 (slim) to 3 (wide).
- Red/Green/Blue -With the color indexes, you can play around with these features to find the best color for you. They are changing from 0 to 250. Choose a color that does not blend in with the map for better judgment and aiming.
- Alpha – Alpha parameter helps you change the crosshair transparency and opacity. The Alpha parameter ranges from 0 (invisible) to 255 (clearly seen). Make the crosshair as visible as possible to your liking, and it should be clearly visible for aiming at a distance.
- Split Distance – With the Split Distance parameter, you can change and adjust according to your play style of dynamic sight magnification while in a gunfight. The Split Distance parameter ranges from 0 (minimal) to 16 (very big).
- Inner Split Alpha – With the Inner Split Alpha parameter, you can change the transparency of the inner part of the dynamic crosshair if needed. The Inner Split Alpha parameter ranges from 0 (invisible) to 1 (clearly visible).
- Outer Split Alpha – With the Outer Split Alpha parameter setting, you can adjust the opacity and transparency of the outer part of your dynamic crosshair reticle. The Outer Split Alpha parameter ranges from 0 (invisible) to 1 (clearly seen).
- Split Size Ratio – Split Size Ratio allows you to change the split size between inner and outer parts of the dynamic crosshair. Split Size Ratio ranges from 0 (without any split) to 1 (max split size).
- T Style – T Style allows you to choose the Terrorist style crosshair, which removes the top reticle from the crosshair.
- Displayed Weapon Gap – with this feature, your crosshair will be dynamic based on the weapon which you are currently using.
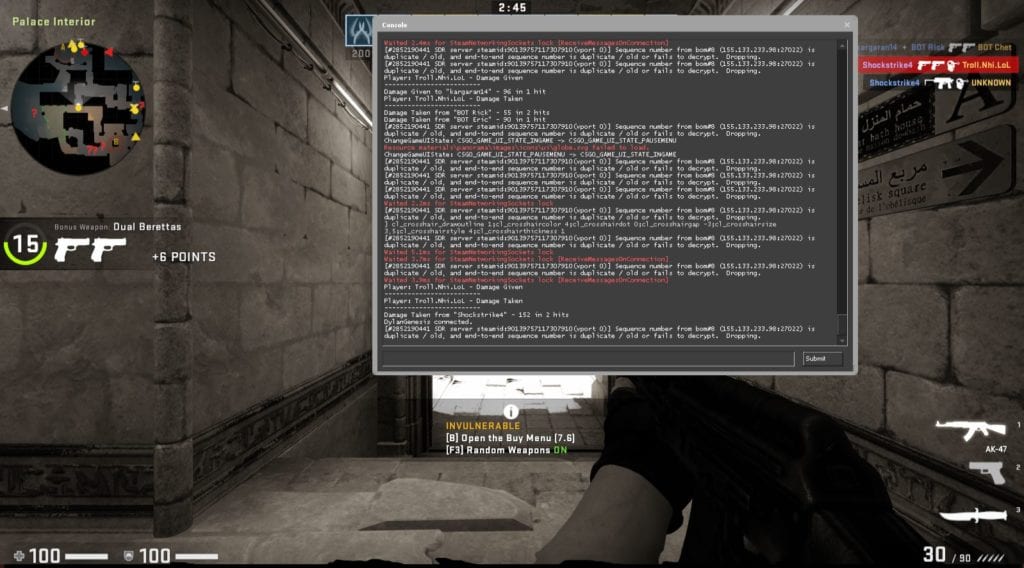
Change Crosshair Commands in the Developer Console
CS: GO offers a treasure trove of developer options to tweak the settings of many aspects to having a custom game experience, including customizing your crosshair. You can even use the developer console to change CS GO crosshair commands settings mid-game if you feel you need to change the reticle’s color for a specific map. Here’s how to enable and use the developer console for customizing crosshair.
If the developer console is not enabled
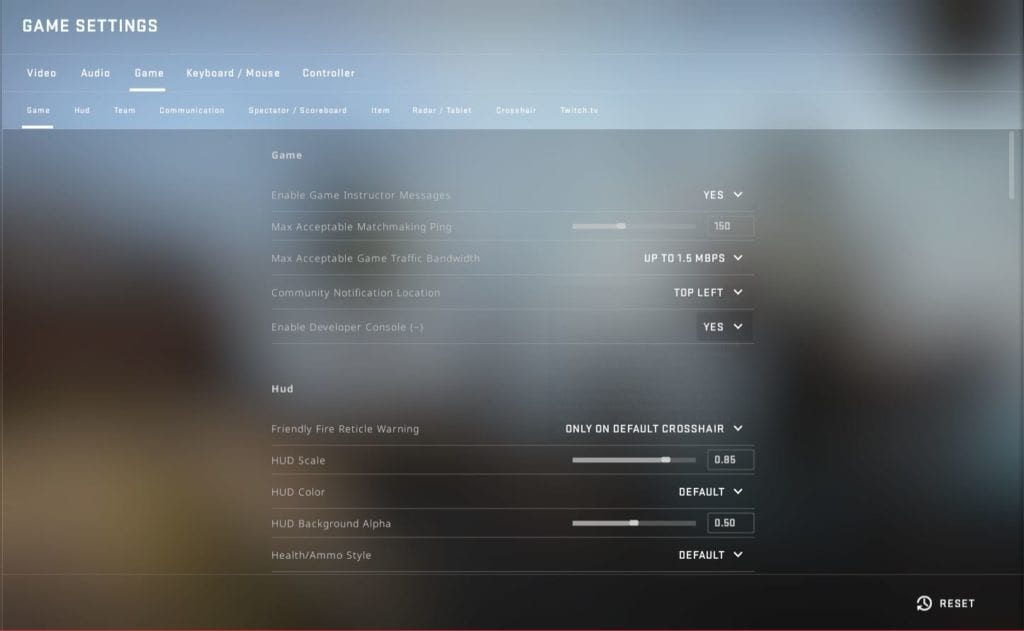
- Go to Settings
- Click on the Game settings.
- Click on the developer options and enable it.
- To summon the developer console in, tap on the (Shift+~) button on the keyboard. You can copy and paste the best CS GO crosshair from down below.
Top Teams CS GO Crosshair Settings
Some of the top players in the game have their very own set of crosshair configuration set up for the game, and if you’re a die-hard fan of any of them, you too can pick it.

Dev1ce

Crosshair Configuration
cl_crosshair_drawoutline “1”
cl_crosshair_outlinethickness “1”
cl_crosshairalpha “800”
cl_crosshaircolor “2”
cl_crosshairdot “0”
cl_crosshairgap “-1”
cl_crosshairgap_useweaponvalue “0”
cl_crosshairsize “3”
cl_crosshairstyle “4”
cl_crosshairthickness “1”
cl_crosshairusealpha “1”
Magisk
Crosshair Configuration
cl_crosshair_drawoutline “1”
cl_crosshairalpha “255”
cl_crosshaircolor “0”
cl_crosshairdot “0”
cl_crosshairgap “-1”
cl_crosshairgap_useweaponvalue “0”
cl_crosshairsize “1”
cl_crosshairstyle “4”
cl_crosshairthickness “0”
cl_crosshairusealpha “1”
Coldzera

Crosshair Configuration
cl_crosshairalpha 200 cl_crosshaircolor 2 cl_crosshairdot 0 cl_crosshairgap -3 cl_crosshairsize 3 cl_crosshairstyle 4 cl_crosshairusealpha 1 cl_crosshairthickness 1.15 cl_crosshair_drawoutline 0
Rain

Crosshair Configuration
cl_crosshair_drawoutline “0”
cl_crosshairalpha “250”
cl_crosshaircolor “1”
cl_crosshairdot “0”
cl_crosshairgap “-2”
cl_crosshairgap_useweaponvalue “0”
cl_crosshairsize “2”
cl_crosshairstyle “4”
cl_crosshairthickness “0”
cl_crosshairusealpha “1”

Brollan
Crosshair Configuration
cl_crosshair_drawoutline “1”
cl_crosshaircolor “1”
cl_crosshairdot “0”
cl_crosshairgap “-2”
cl_crosshairgap_useweaponvalue “0”
cl_crosshairsize “2”
cl_crosshairstyle “4”
cl_crosshairthickness “0”
cl_crosshairusealpha “1”

Golden
Crosshair Configuration
cl_crosshair_drawoutline “0”
cl_crosshaircolor “1”
cl_crosshairdot “0”
cl_crosshairgap “-2.5”
cl_crosshairsize “4”
cl_crosshairstyle “4”
cl_crosshairthickness “0”
To find more developer console crosshairs from the top CS: GO players, you can visit the csgocrosshairs.com, which hoasts an extensive collection of Pro crosshairs.
You can have a preview of the set parameters in the preview area at the top of the settings.
Customize Crosshair in real Time With Crashz CS GO Crosshair Generator

CS: GO gives a lot of developer and editing options to its players, and with the active community, you can find console settings to change crosshair parameters. But, we do not recommend dabbling with developer console settings for beginners, as it might be confusing. For real-time crosshair customization and practice, a Workshop user Crashz has made a handy map, especially for customizing and trying out various sportsmen crosshair. Here’s how to install the Crashz CS GO Crosshair Generator V3 and use it to customize and checkout crosshairs.
- Head over to this link to the Steam Community Workshop Page
- Click on the green Subscribe icon.
- Now you can access the Crosshair Generator V3 map.
- Open CS: GO, and the map will start loading.
- Click on Start Game>Offline with Bots>Workshop>Select Crachz Crosshair Generator V3>Click on go and select the bot difficulty to easy bots>go and start the match.
Let’s walk you through the CS GO Crosshair Generator Map.
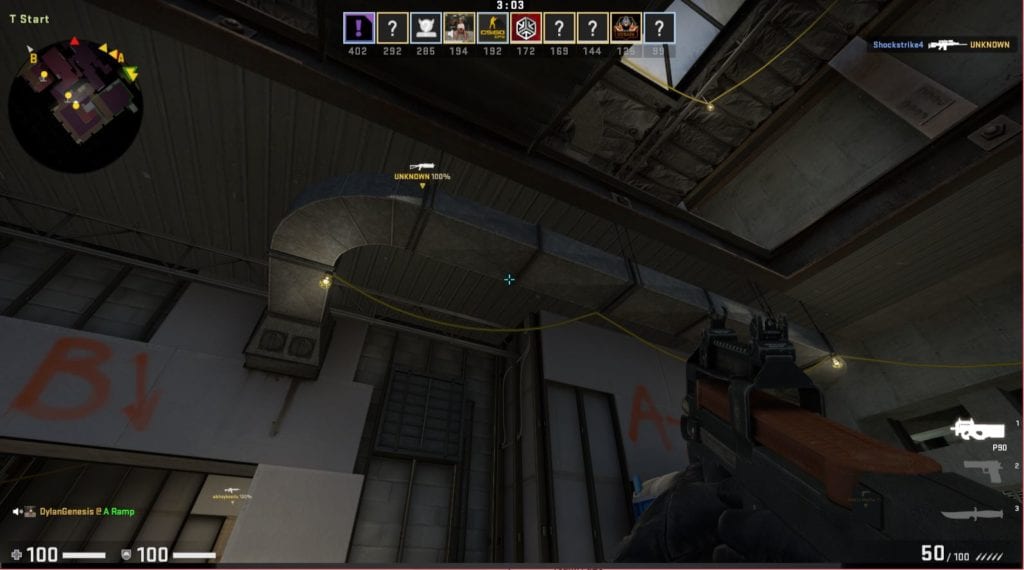
- When you enter the Crashz map, you will see a screen on the top of the map preview window. Now, to select any settings, you just shoot at the settings you wish to apply. From the Crosshair style, select anyone.
- You will be presented with the settings mentioned above coming from the game crosshair settings. Shoot the way until you get the perfect crosshair.
- On the left-hand side of the console station, you can change and select the map preview.
- You will find a color palette on the left side corner and shoot the color you wish to use.
- On the right side wall, you have the option to store multiple crosshairs, and you can share the custom crosshair by shooting the Share option.
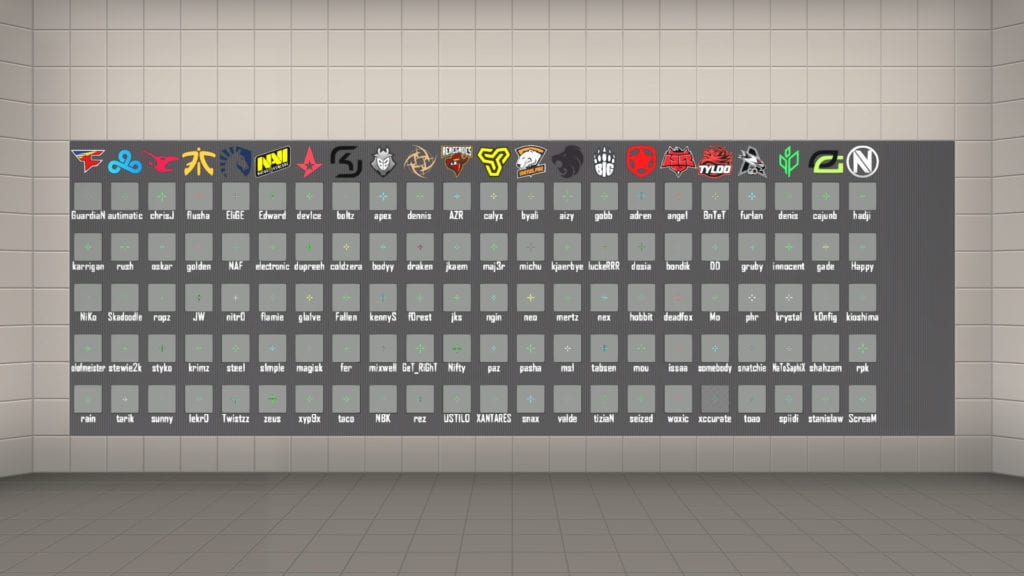
- With the hall of fame wall of the best teams and CS: GO players, you can shoot the crosshair and use your favorite CS GO celebrity crosshair.
- You can try out your new crosshair by sparring with bots and choose a map preview for testing out the crosshair in different map environments.
Using the Crashz Crosshair Generator V3 Map, you can have a tailored crosshair for your own playstyle or test one from your eSports team players you want to try out without dabbling and messing around with the System Console settings.
Final Words
Counter-Strike has been the cult classic when it comes to competitive shooters, and our guide to customizing crosshairs will help you maser the CS: GO competitive heat when you decide to gear up for the game with your friends. We hope our detailed guide to crosshairs has helped beginners master the game.