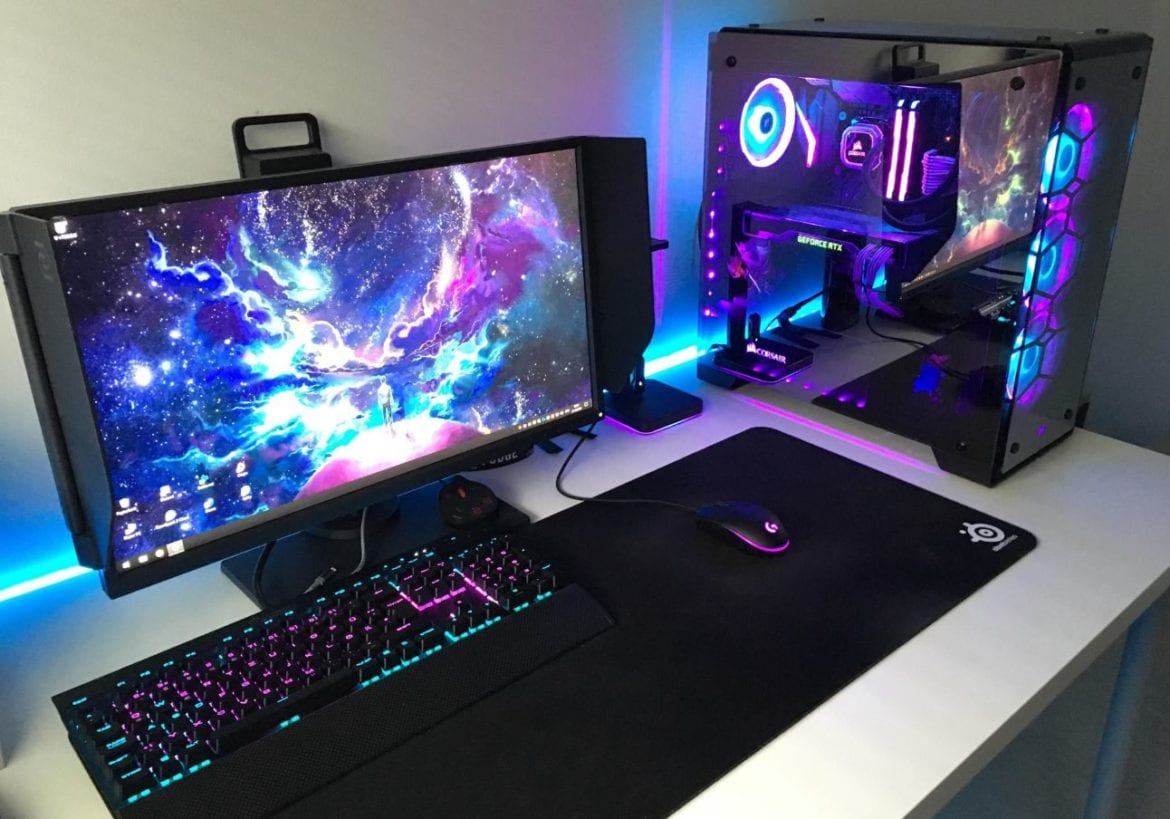
How To Build A PC
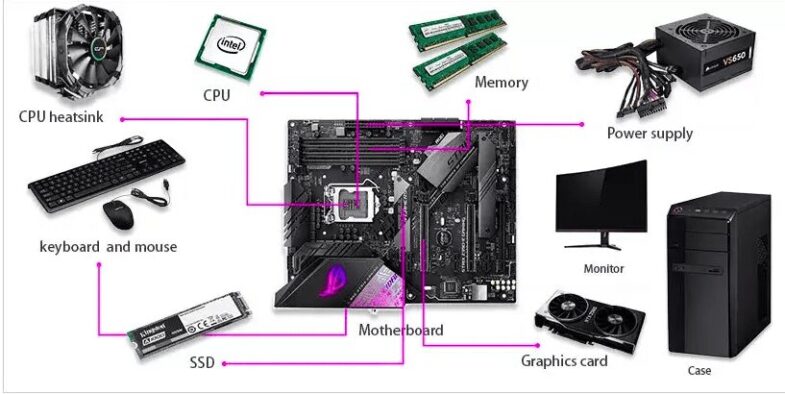
Before you actually start getting deeper into our best gaming pc build guide and building your dream PC, you will need to get your hands on a couple of things that you will need for this task.
The only truly essential tool that you will need in order to build your gaming PC is the screwdriver as you will be screwing in many of the components to keep them safely in place. Aside from the screwdriver, there are a few additional things that are not mandatory but will likely come in handy such as zip ties to make your cable management better, as well as scissors to open your packages easier as well as cut the zip ties to an appropriate size. Lastly, a small container can come in handy to store all your extra parts and tiny screws to prevent them from getting lost in all of the excitement. With all this said, let’s get into the actual build.
Prep the Space and the Case
Before you actually pick any of the components up, it would be wise to organize your workspace. The first thing that you will need is a larger open flat space where you are going to put your PC together. Aside from the space for your PC case and components, you are working on, make sure that there is some space to spare for additional screws, tools, and anything else that can take up your space such as empty boxes, manuals, and anything else that you think you may need to keep at arms reach. It might be wise to sort out and separate the components that you will be working on first such as well as store the empty containers somewhere outside your work area to save some space and keep everything nice and tidy.

There are a few ways you can go about building a PC, in our best gaming pc build guide, we have chosen to start with preparing the case first. After unboxing it, and putting the box and the packaging aside, make sure that you open your case and remove any additional parts that you think you need to.
While it is only necessary to remove one of the side panels, depending on your cooling system, the fans, and additional cosmetic parts, you will need to consider what else needs to be unscrewed and removed temporarily. This is not something that you have to do by all means and a lot of times, you will be able to install everything without any backtracking and additional case tempering, but it is a good idea to plan ahead. Remember to safely store all your screws and other tiny parts so you can reinstall them later. With the case ready, we can move to the next step.
Installing the CPU and Cooler
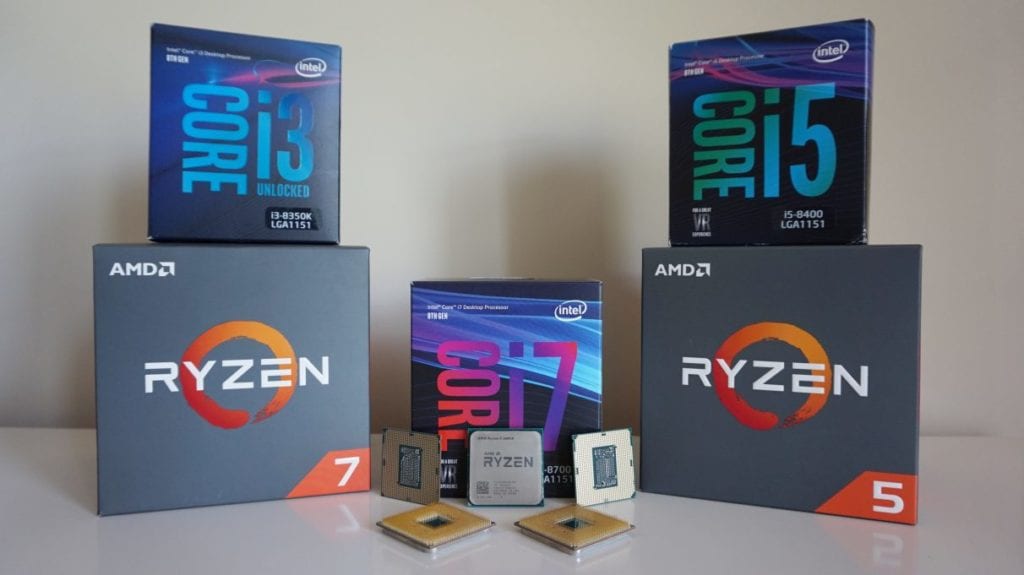
As mentioned above, there are a couple of ways to go about here, but regardless of the order that you choose to do things in, the steps needed to be taken, and the final result will remain the same, so we have chosen to put together the whole motherboard first. Start by removing the motherboard and all its additional components from the package and put it on a flat surface. The box itself usually does the trick. After that, open your CPU package and safely and carefully remove the CPU from its box and casing. Be extra careful when doing things as CPUs can be damaged quite easily and the last thing that you want to do is break your PC before you even boot it up for the first time.
Installing the CPU
Once you have your CPU out of the box and aren’t completely terrified of dropping it, install it on the motherboard by placing it into the socket. Note that some motherboards(mostly those for intel) have a cover over their CPU socket which you will need to remove in order to install the CPU. This can usually be done easily without the use of any tools.
When placing the CPU into its socket, use the small lever on the side of the socket to release the tension and use the marks on the socket to match the notches and the pin layout of your board and your CPU. If you have done this correctly, you should feel the CPU slide into the socket easily, do not try to force it by putting pressure on it as you may damage the CPU or the motherboard. If you believe that you installed the CPU wrong, simply lift the CPU from the socket and try again. Once you have your CPU in place, pull down the lever on the side of the socket to lock it in place.
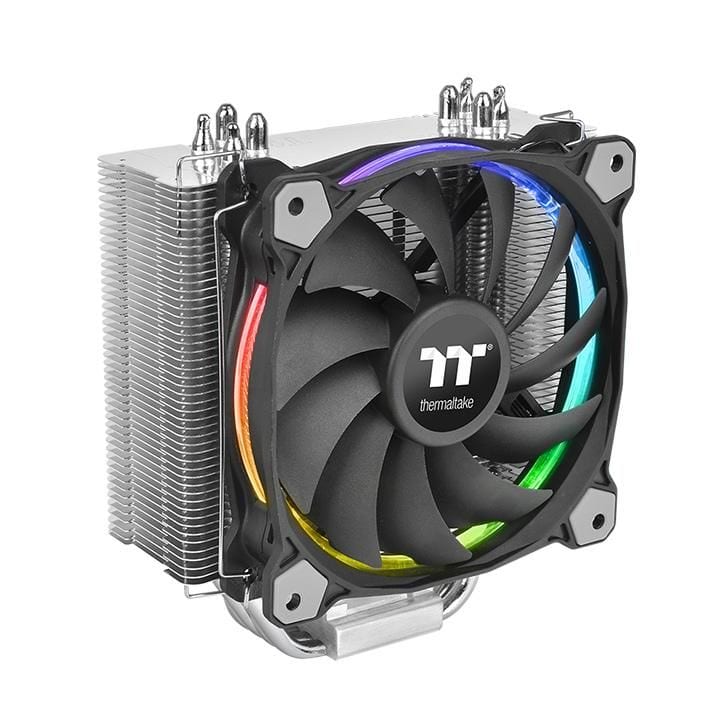
The next logical step when building a PC is to install the cooler, however, this only applies if you are using an air cooler. If you want to use liquid cooling by using an AIO (All in One) or create a custom cooling loop, then you will need to do this step after you place the board in the case and install everything else on it. The process is very similar in any case, so we will only be explaining how to install the air cooler as most CPUs come with their own stock coolers in the box.
Installing the Cooler
To install a cooler, you will need to put some thermal paste onto your CPU. While there are a few different methods, a simple pea-sized droplet of thermal paste placed in the middle of the CPU will do the trick. Keep in mind that some coolers come with thermal paste already pre-applied. Check before you actually put any of it on the CPU yourself.
Regardless of whether your CPU is made by AMD or Intel, the process of installing the cooler is simple and almost identical with a couple of minor differences. In both cases, you will need to lay your cooler over the CPU and match the screws with the holes around it. Gently press down on the cooler until the screws go in. After that, if you are using an Intel CPU, twist the plastic pins as the arrows on them instruct. For AMD coolers, the process is the same. However, instead of twisting the pins, you will have to manually screw them in. Attach the cable from the fan of the cooler to the motherboard and voila, you can proceed to the next step.
Installing the RAM
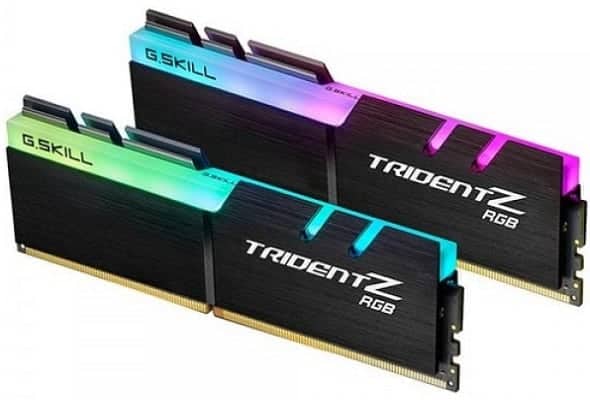
If you take a look at your motherboard you will notice a few long sockets right next to your cooler. These are the RAM slots and as the name implies, your RAM sticks go in there. Installing these is very simple. Loosen the small plastic locks on the edges of your RAM slots. Place your RAM sticks over the slot and gently yet firmly press down on the slot until it gets locked into place.
If you have multiple RAM slots and are using a single stick of RAM, your work here is done. It doesn’t matter in which slot you place the RAM stick. However, if you are using fewer sticks than you have slots and wish to use dual channeling. You will need to place the sticks in a specific order. You can find out this order by checking the manual for your motherboard. In general rule of thumb is to start with a slot that is located the furthest from the CPU socket. Then we skip a slot, then use a slot, and so on. If you have made up to this point, congratulations! You are ready to put everything you have done so far into a case and are one step closer to completing your PC.
Mounting the Motherboard
At this point, you are just a few steps away from playing video games on the PC that you have proudly built yourself. However, right now, you need to put everything that you have done so far into a case that is a very simple task. Carefully pick up your motherboard, and gently place it in your case. Make sure that the screw holes on the board match with the standoffs on the case. Screw the board inside suing the screws that came with the board or the case.
Installing Storage Devices
When it comes to storage there are a few different options that you can go for such as HDD, SSD, or M.2 drives. M.2 drives are the simplest to install as they are simply slotted in, directly onto the motherboard similarly to RAM, but in order to use them, your motherboard has to support them. If it doesn’t then you still have options such as HDD and SSD. Regardless of which one you choose to use, the installation process is more or less the same.
Most modern cases have designated spots for each of them and they need to be screwed in place. This should be no issue as you have already screwed in the motherboard, so you have the necessary experience. Once your storage drives are secured in place, use the SATA cable to connect them to the motherboard, and you are done. You will connect the power cables to them later.
Installing the GPU (Graphics Processing Unit)
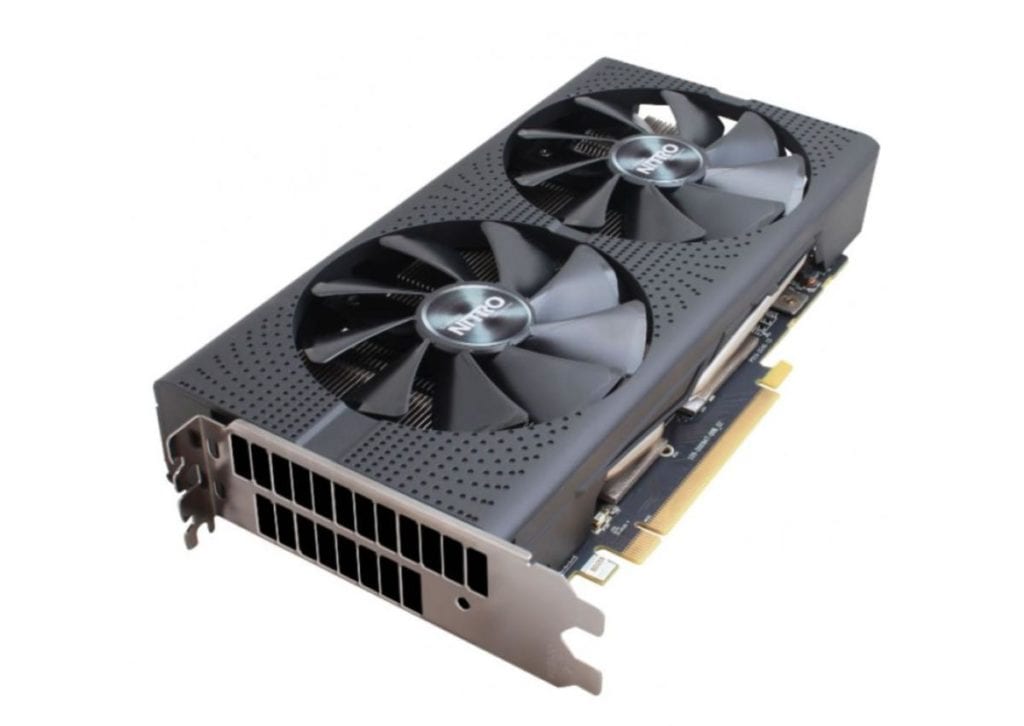
To install the GPU, you will need to have a Philips-head screwdriver ready. Now, locate the GPU slot which is known as the PCIe x 16 slots. Usually, this slot is located at the bottom of the motherboard. If you are using a higher-end board, you likely have more than one. Some slots have plastic latches that lock the GPU in place similar to RAM slots. If your motherboard has one, unlock it first. Unscrew any slot covers on your case that line up with your GPU slot. Now, gently but firmly, slot your graphics card into the PCIe slot, similarly to how you installed the RAM sticks. Your GPU should slide in with no issues. Check the latch with your finger and make sure it is locked in place. Afterward, secure it in place by screwing it in on the side of your PC case.
Installing the PSU (Power Supply Unit)
The final component that you will need to install is the power supply or the PSU. This process may slightly vary depending on your PSU type and your case. In general, the idea is to secure it safely by screwing it in its designated place. Power supplies can be modular and non-modular. The only differences being that the non-modular PSUs have their cables already attached to them. These can’t be removed while modular supplies are the exact opposite. In either case, the process is the same, as well as the result. The only difference is that with modular supplies. These are much tidier and cables don’t get in your way as much.
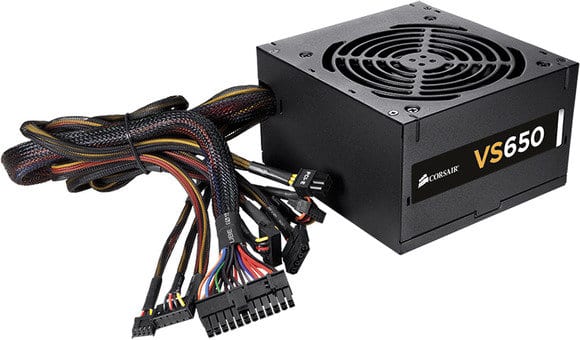
Start by checking your PC case and see where your PSU is supposed to go. Older cases tend to have their PSUs mounted at the top. When most modern cases have a PSU designated spot at the bottom. Some cases also have removable shrouds that cover up the PSU. Please, make sure you remove it before installing the PSU if your case has it. Once you are ready to install the PSU, line up the screw holes of the PSU with those on the case. Screw the PSU in place with the PSU exhaust facing to the back. You are almost done.
Connections and Additional Details
The final step in our best gaming pc build guide and building your own PC is connecting everything together. This is not a difficult thing to do. However, it can become overwhelming with all the cables sticking out in every direction, especially for new builders. The key thing to do here is to remain calm and organized. See what has to go where, and figure out the best path to achieve that. You will need to connect your PSU to your motherboard, your storage devices, and in most cases, your GPU. While all of the PSU pins are easily matched to their plugs, we will provide you with a quick overview of them.
The SATA power pins should be connected to your storage devices. The 8 Pins should go to your GPU, and the 12 and 4/8 CPU pins should be connected to your motherboard. Armed with all this information, try and find the best route for your cables. Try and conceal them as best as you can so your PC looks nice and tidy instead of like a rat’s nest. Additionally, you will want to connect all your USB, Audio, and System Connectors to your board. This can differ depending on your case and motherboard. You can always find their layouts printed on the board itself or in the manual. Once you have connected everything and are satisfied with how everything looks. Now it is time to put your PC case back together, close it up and you are done.
Finale
Congratulations, you have successfully made it through the best gaming pc build and built your own gaming PC. The only thing left now is to plug it into the wall and boot it up. If you have done everything correctly, your PC should post it onto your screen. Keep in mind that it takes some time for a computer to post when booting up for the first time. Don’t be alarmed if it restarts itself a few times and takes a minute to post. If everything checks out, you are ready to play some video games.