
Most of the world has more remote availability a home. That makes it a great time to enhance your gaming experience. What better way to take things up a notch than to learn how to build your own gaming PC.
Having a gaming PC gives you access to games at a more affordable rate than consoles. You have more control over the games you play. You can also easily edit mods into the game.
This is a plus for games that have mods that aren’t built into the game originally. Plus, it’s easier to upgrade a PC on demand for game graphics vs a console.
Building your own gaming pc is an exciting and rewarding experience. Learn how to build your own gaming pc, step by step here.
How to Build Your Own Gaming PC: Gather Your Tools
Believe it or not, you won’t need your entire tool chest to build a PC. Building a gaming personal computer starts with one tool—a Phillips-head screwdriver.
Clear a large workspace. An old kitchen table works great. Make sure you stand on an uncarpeted mat to prevent an electrostatic discharge.
Choose a Tower and Open It
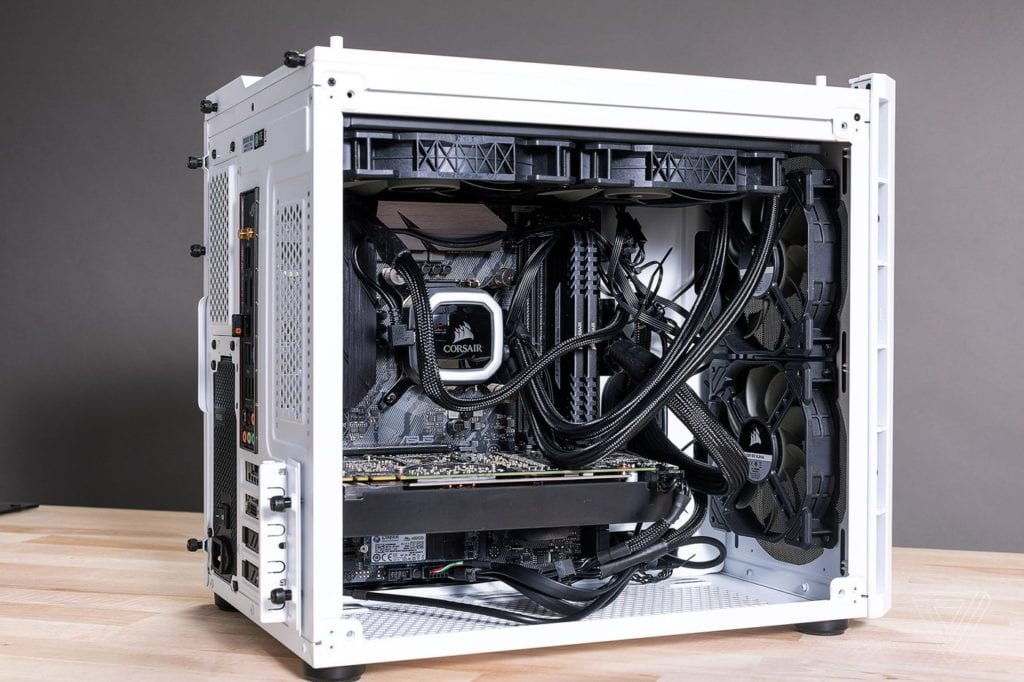
One of the most valuable pieces of a good gaming PC is the case. Some gamers refer to it as the tower. You’ll need to decide what size tower you need. This all depends on the storage location of the case.
Average towers, based on the size of the motherboard, come in three sizes: mini, mid, and full-tower.
Once you choose a tower size, it’s time to open the case. Use the screwdriver to remove the thumbscrews from the case and open it.
Install the CPU
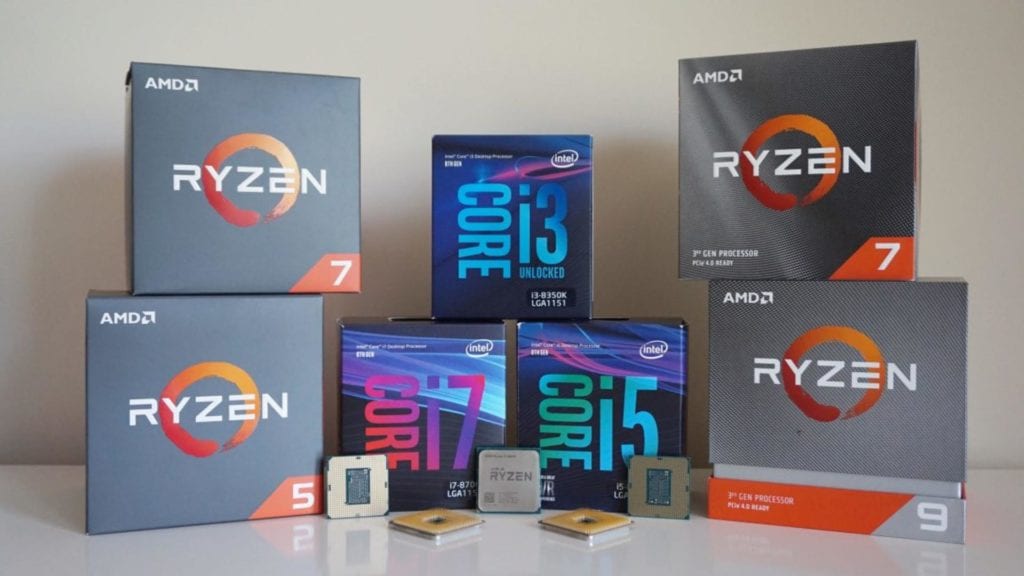
A CPU is the central processing unit of the computer, also known as the brain. This is what executes the important instructions inside the PC. CPU’s are not created equal so choose carefully and do your research
First, remove the gaming motherboard from its packaging and place it on a workstation. Locate the CPU locket and remove the plastic covering. Open the CPU locket tray by pressing down on the lever and pulling it to the side.
Now remove the CPU from the packaging. Handle it with caution and care. Refrain from touching the gold pins on the bottom, as this causes damage to the CPU. Gently place the CPU in the socket by lining the arrows up.
Once you set the CPU in the socket, lower the lever arm on the socket and lock it back in place.
Final Steps
The final steps are pretty simple. It’s a matter of putting things in place. Organize everything else and install them in this order:
- Add the Heatsink
- Install the Ram and attach the I/O shield
- Now Install the Motherboard and secure it to the case
- Install the Graphics Card and Hard Drive
- Grab the Power Supply and install it
- Attach necessary cables—USB 3.0, HD Audio Cable, etc
- Connect the power pins to the graphics card
- Locate the Motherboard and connect the PSU
- Connect Power to the Hard Drive
- Plug in the CPU Pins
- Plug in the Heatsink Power cord
- Connect the case fans
- Locate the motherboard and attach the hard drive
- Turn on the PSU
After you turn on the PSU, the computer should power up without issue. The gaming PC monitor loads as well. At this point, you can install whatever drivers you’d like.
Start Gaming
Learning how to build your own gaming pc takes time, but it’s doable. Gather everything you need, build, and start gaming.
Let us teach you more about gaming tech. Check out our tech guide for the latest in all things gaming.